microgreens kit seeds

Grow Your Own Radish Microgreens: The Ultimate Guide for Beginners.

Grow Your Own Radish Microgreens

The Ultimate Guide for Beginners.

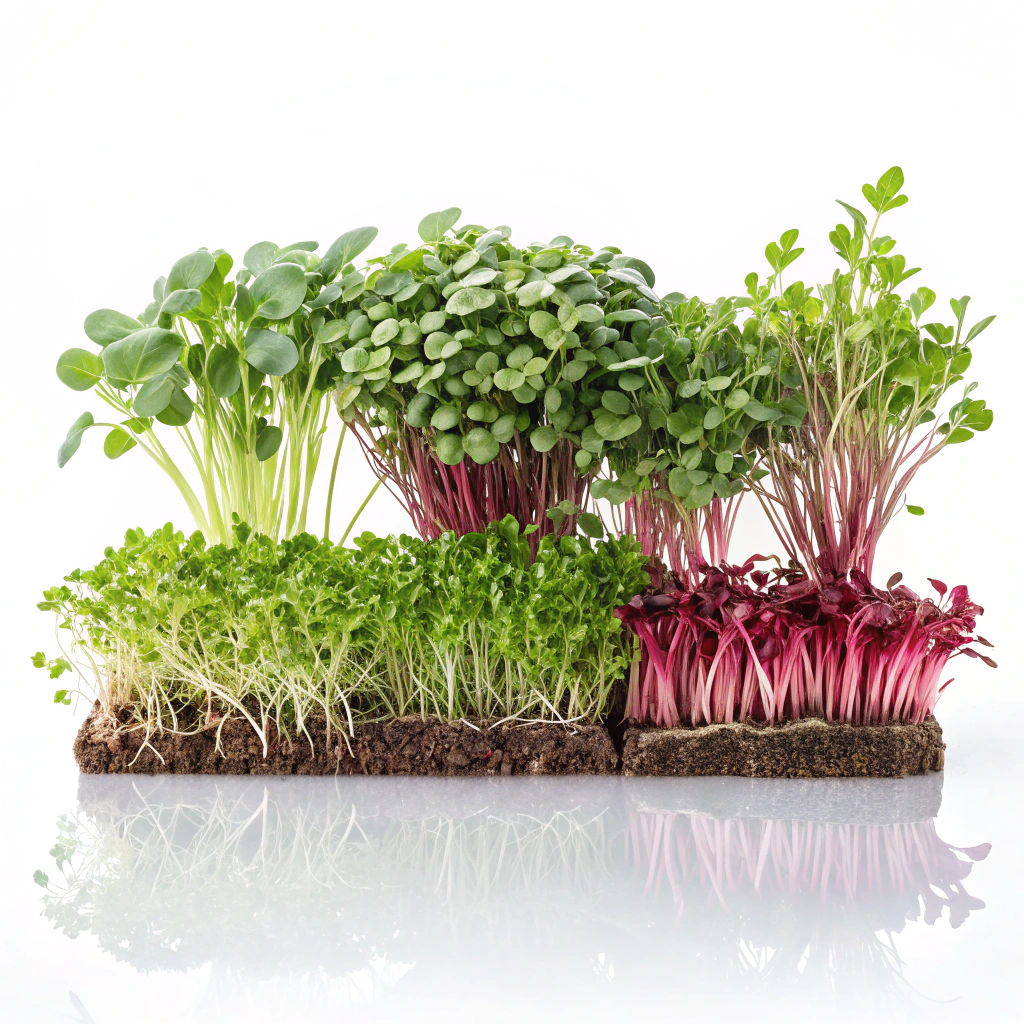
Micro radish greens are a popular choice because of their fast growth, vibrant colours (green to purple and pink) and tangy, peppery flavour. They are a fantastic addition to your diet with a tangy flavour and a wealth of nutrients. It’s one of the easiest and fastest microgreens to grow, making it ideal for beginners. Here’s a comprehensive guide to growing your own radish greens at home.

Materials needed

1. Radish seeds: Choose high-quality organic radish seeds that have been specifically designed to germinate. Popular varieties include Daikon, Red Arrow and Chinese Rose radishes.
2. Growing medium: Soil is the most common medium for growing microgreens, but you can also use hydroponic mats or paper towels.
3. Shallow containers: Use trays or containers about 1-2 inches deep with drainage holes.
4. Water: A spray bottle is ideal for watering seeds.
5. Light source: Natural sunlight or grow lights (grow lights give more consistent results).
 6. Scissors: For harvesting microgreens.
The necessary seeds, supplies, and materials can be purchased on amazon, temu, etsy or at the nearest specialty store.

Step by step guide

Step 1: Prepare the seeds.

No need to soak: Radish seeds do not need to be soaked before planting, making the process quicker and easier. Rinse the radish seeds under cold water to remove any debris and dust.

Step 2: Prepare the growing medium. 

Fill a container: Fill a shallow container with about 1-2 inches of soil. Make sure the surface is level but not compacted. Use a spray bottle to moisten the soil until it is even.If you are using a hydroponic mat, moisten it thoroughly and make sure it is evenly placed in the tray.

Step 3: Plant the seeds.

Spread out the seeds: Spread the radish seeds evenly over the surface of the soil. They can be sown close together as microgreens don’t need much space to grow.
Press the seeds down lightly: Press the seeds lightly into the soil to ensure good contact, but do not cover them with soil.

Step 4: Ensure optimum conditions.

Cover the seeds: To encourage germination, cover the container with a light cloth or other tray to create a moist environment.
Place the covered tray in a warm, dark place for 2-3 days. Place in the light: After 2-3 days, remove the cover and place the container in a spot with plenty of indirect sunlight or under grow lights. Radish microgreens need about 4-6 hours of light per day.

Step 5: Water regularly.

Keep the soil moist: Use a spray bottle to mist the soil daily to keep it moist but not soggy.
Prevent mould: Ensure good air circulation around your plants to prevent mould growth.
If you notice mould, improve air circulation, reduce watering and use a diluted hydrogen peroxide solution (1 part hydrogen peroxide to 10 parts water) to spray the affected areas.
 

Step 6: Harvest.

Radish microgreens are usually ready to harvest in about 7 to 10 days, when they reach 2 to 3 inches in height and develop their first true leaves.
Harvesting method: Use sharp scissors to cut the microgreens just above the soil line. Harvest only what you need, as they look best when fresh.

Step 7: Enjoy your microgreens.

Use fresh: Radish microgreens can be used in salads, sandwiches, soups or as a garnish for a variety of dishes.
They add a savoury flavour to dishes and boost their nutritional value.

  Tips for success.

Quality seeds: Always use high quality organic seeds for best results.
Cleanliness: Maintain clean growing conditions to prevent mould and other problems.
Regular monitoring: Check your microgreens daily to make sure they are getting enough moisture and light.
Harvest in time to get the most flavour and nutrients.

Conclusion:

Growing radish microgreens at home is an easy and rewarding process that produces nutritious and tasty greens. With this detailed guide, you can confidently start your own vegetable garden and enjoy the many benefits of fresh, home-grown radish greens.